Example: Webserver (nginx+php-fpm)
In this post we are going to setup our example jellyfish host to run nginx and php-fpm. Checkout the provided jellyfish.yml playbook for a quickstart. This example playbook also configures a virtual host and creates a typical phpinfo.php file to test your setup.
This provides a solid example to setup your own webserver running nginx with php-fpm atop which you can later on run other php applications like nextcloud or MediaWiki.
The jellyfish.yml example playbook sets up a webserver with nginx and php-fpm:
---
- hosts: jellyfish
  user: root

  roles:
    - role: geekoops-nginx
      vars:
        config_firewall: true
        firewall_zone: "public"
    - role: geekoops-php-fpm
      vars:
        apcu_enable: true
        apcu_shm_size: 32M
        php_memlimit: 256M
        php_maxuploadsize: 64M

  tasks:
  - name: Deploy jellyfish config for nginx
    copy:
      content: |
        server {
          listen 80 default_server;
          listen [::]:80 default_server;
          server_name jellyfish;
          root /srv/www/htdocs;
          location / {
              try_files $uri $uri/ =404;
          }
          location ~ \.php$ {
              fastcgi_pass   unix:/run/php-fpm/php-fpm.sock;
              fastcgi_index  index.php;
              fastcgi_param  SCRIPT_FILENAME $document_root$fastcgi_script_name;
              include        fastcgi_params;
          }
        }
      dest: "/etc/nginx/vhosts.d/jellyfish.conf"
      group: "root"
      owner: "root"
      mode: 0754
    notify: Restart nginx
  - name: Ensure nginx is in the www group
    user:
      name: nginx
      groups: www
      append: yes
    notify: Restart nginx
  - name: Deploy phpinfo script
    copy:
      content: "<?php phpinfo(); phpinfo(INFO_MODULES); ?>"
      dest: "/srv/www/htdocs/phpinfo.php"
      group: "www"
      owner: "wwwrun"
      mode: 0754
# Note: The current php-fpm apparmor profile does not allow access to /srv/www.
# We set app-armor to complain in this role. Note that you should use e.g.
# `yast apparmor` to update your AppArmor profile instead of disabling AppArmor
# as a whole!
  - name: Ensure aa-complain is installed
    package:
      name: apparmor-utils
      state: present
  - name: Put app-armor to complain mode
    shell: aa-complain /etc/apparmor.d/php-fpm

  handlers:
    - name: Restart nginx
      systemd:
        name: nginx
        state: restarted
Let’s start with the basics. First ensure you have ansible installed on your host machine
sudo zypper in ansible
Then, we need a working directory, let’s say jellyfish.
mkdir jellyfish
cd jellyfish
All next steps should be run in this directory.
We first setup a JeOS VM as our playing ground. Skip down to the Running the playbook section in case you have already your VM up and running and just want the playbook to run.
No installation required! This VM image is ready in under 5 minutes.
The most easy way of just getting a openSUSE Leap VM running, is to use the JeOS image. JeOS (or MinimalVM) is a slimmed down image that contains just enough to run as a VM. It boots directly from the provided qcow2 image and does not need to be installed. A handful of configuration steps in the first-run wizard and you’re good to go! You have your openSUSE Leap VM up and running in under 5 minutes.
JeOS can be downloaded from https://get.opensuse.org/leap in Alternative Downloads". Download the KVM and XEN image, import it into your virt-manager and we’re ready to go.
Back in our jellyfish directory, we first download the VM image (which is also our hard disk)
$ wget -O jeos-openSUSE-Leap-15_4.qcow2 https://download.opensuse.org/distribution/leap/15.4/appliances/openSUSE-Leap-15.4-JeOS.x86_64-kvm-and-xen.qcow2
Create a qcow2 overlay, so that multiple machines could in principle use the same qcow2 image as base and we only store the overlay in a separate image file:
qemu-img create -b jeos-openSUSE-Leap-15_4.qcow2 -f qcow2 -F qcow2 jellyfish.qcow2 30G
Then we run virt-install to setup and run our jellyfish server:
$ virt-install --name=jellyfish --file=$PWD/jellyfish.qcow2 --vcpus=2 --ram=2048 --os-variant=opensuse15.4 --boot hd
After a handful of configuration steps, you have a functional system in just some minutes.
As you can see in this gif, it only took me 1:30 minutes to get a functional openSUSE Leap 15.4 system using the JeOS image.
Ansible requies ssh access to the machines it is expected to provision. In this example we will assign the jellyfish hostname to the VM IP address via /etc/hosts. In a more mature environment you might need to update the DHCP server but that’s outside of the scope of this tutorial.
First we need to find out the IP address of the VM. For that, we log in via the virt-manager console, then run ip address (or ip a in short) to list the currently assigned IP addresses. See the 192.168.122.116 in the output below:
# ip a
1: lo: <LOOPBACK,UP,LOWER_UP> mtu 65536 qdisc noqueue state UNKNOWN group default qlen 1000
    link/loopback 00:00:00:00:00:00 brd 00:00:00:00:00:00
    inet 127.0.0.1/8 scope host lo
       valid_lft forever preferred_lft forever
    inet6 ::1/128 scope host
       valid_lft forever preferred_lft forever
2: eth0: <BROADCAST,MULTICAST,UP,LOWER_UP> mtu 1500 qdisc pfifo_fast state UP group default qlen 1000
    link/ether 52:54:00:85:0f:7a brd ff:ff:ff:ff:ff:ff
    inet 192.168.122.116/24 brd 192.168.122.255 scope global eth0
       valid_lft forever preferred_lft forever
    inet6 fe80::5054:ff:fe85:f7a/64 scope link
       valid_lft forever preferred_lft forever
Now, as root on your local machine, add the IP address to /etc/hosts otherwise you will need to replace jellyfish by the ip address in all following commands.
We have been adding the last line 192.168.122.116 jellyfish to your /etc/hosts file.
vim /etc/hosts

# IP-Address  Full-Qualified-Hostname  Short-Hostname
#

127.0.0.1	localhost

# special IPv6 addresses
::1             localhost ipv6-localhost ipv6-loopback

fe00::0         ipv6-localnet

ff00::0         ipv6-mcastprefix
ff02::1         ipv6-allnodes
ff02::2         ipv6-allrouters
ff02::3         ipv6-allhosts

::1             hotdog
[...]

# This is what we add here to assign an IP our amazing jellyfish VM
192.168.122.116    jellyfish
Now let’s copy the ssh-key from your host via
ssh-copy-id root@jellyfish
Done. Check if you can login via ssh root@jellyfish. Now would be a good time to power off your VM and create a VM snapshot, so in case something goes wrong in the next step you have your “saved game” slot you can always rollback to.
Remember to remove the jellyfish from /etc/hosts afterwards, in case you don’t want to keep your jellyfish :-)
First ensure (one more time), that you have root access to jellyfish
ssh root@jellyfish
Back in our jellyfish directory, we need to get the roles and the playbook:
# Download the ansible repositories
git clone https://github.com/GeekOops/geekoops-nginx
git clone https://github.com/GeekOops/geekoops-php-fpm

# Download playbook
curl -o jellyfish.yml https://geekoops.github.io/posts/20210326-example-webserver/jellyfish.yml
Next we need to create an inventory. And inventory is a list of hosts or host groups that belongs to a certain deployment. In our basic setup we only hold the jellyfish host, but you can see this really as an inventory of all servers that you would manage via ansible. Let’s stay simple here:
# Create inventory
echo "jellyfish" > inventory
We now have all ingredients that we need. We have the playbook, we have the roles and we have the inventory. So from here nothing is holding us back, let’s fire ansible up and run the playbook using ansible-playbook:
ansible-playbook -i inventory jellyfish.yml # Use the custom inventory instead of the default (/etc/ansible)
Go grab something to drink and let ansible sparkle it’s magical fairy dust. When you return the playbook has hopefully setup your machines to the desired state:
What you hope for is to see something like the following after about 1-2 minutes of ansible running:
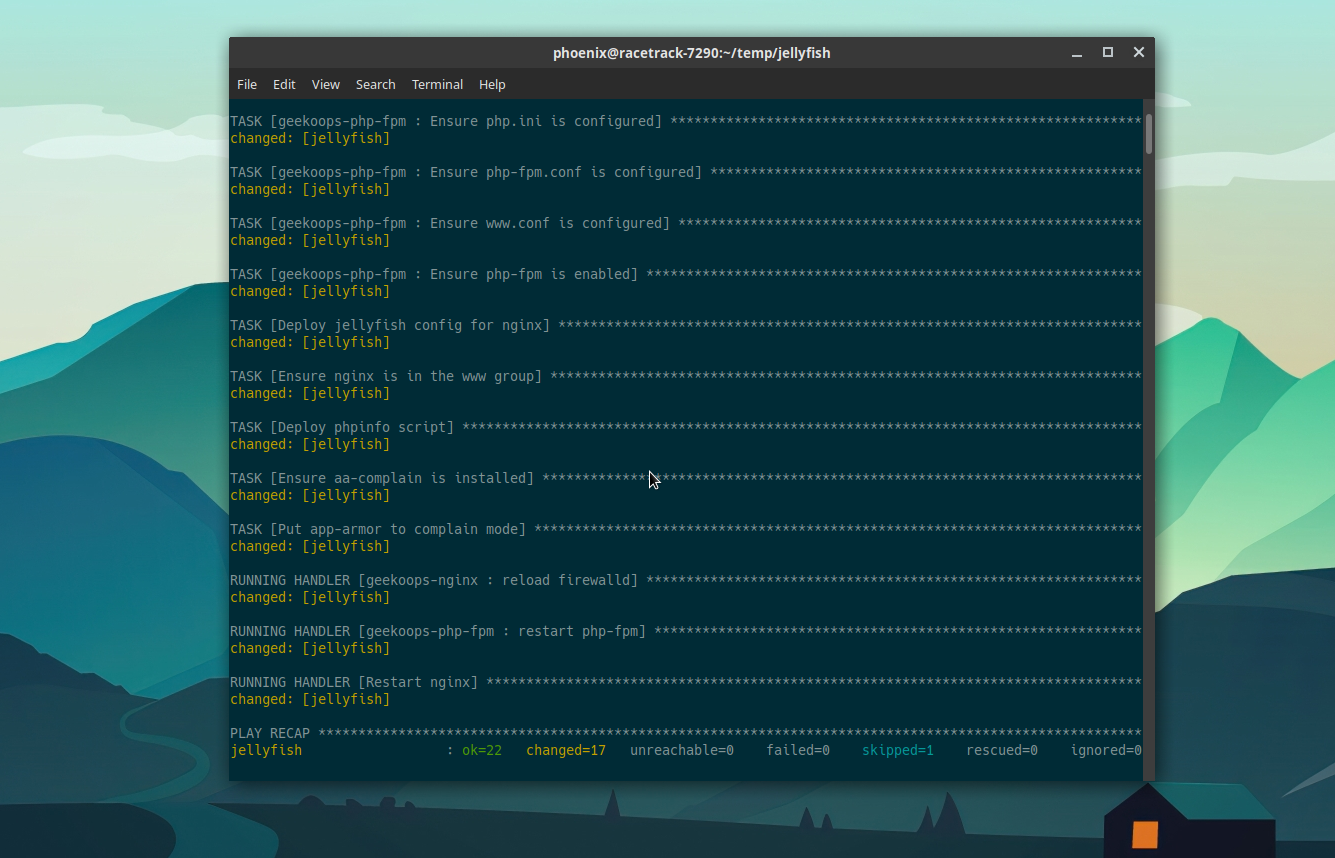
The ok=22 changed=17 failed=0 tells you that ansible was successful.
Now in your browser navigate to http://jellyfish/phpinfo.php and you should see, the output of phpinfo:
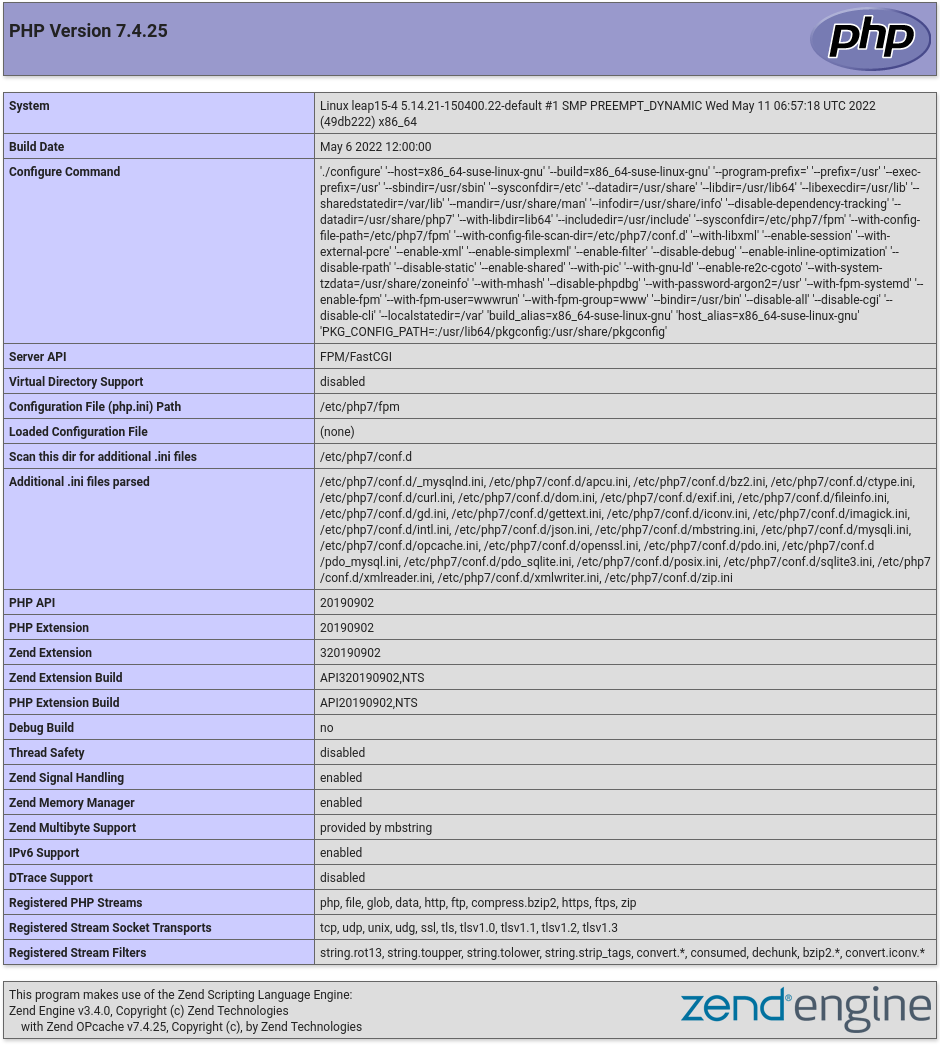
Congratulations. You have successfully deployed a nginx + php-fpm webserver instance. Time to celebrate!